Over the past few months, I have been making R2-D2 parts for myself and other builders. Side Vents and the Data Panels took up a lot of time but it was a lot of fun. Working with my machinist friend, Fred, I've learned a great deal about working with aluminum, using a CNC machine and more. After years of building with hacksaws, Dremels and so on, its fantastic to learn how to use bigger and better tools!
 |
| CNC machine cutting a Side Vent from 5052 aluminum |
 |
| Making Data Panels |
With my first R2-D2 functioning fine, I wanted to get back into getting the second one built. Recall that the second one is going to be my "uber" or "ultimate" R2-D2. Basically taking everything I learned building the first and making this one. Once completed, the first R2-D2 will have its blue parts painted pink, giving me a "girl" R2 for patient visitors.
Over the past few days, with the assistance of my friend, we've installed the Data Port into the frame and made a surround piece that wraps behind the CPU Arm. Back in December we also got the CPU Arm mounted and actuated.
 |
| Data Panel installed into the frame. |
 |
| Bottom part of the CPU Arm enclosure |
 |
| Gently peeling the protective plastic layer from the aluminum to glue a rubber stopper. |
 |
| Surround enclosure installed |
 |
| Looks great with the skin on. |
 |
| Rubber stopper prevent damage to the CPU Arm tip |
 |
| Back view of the surround |
|
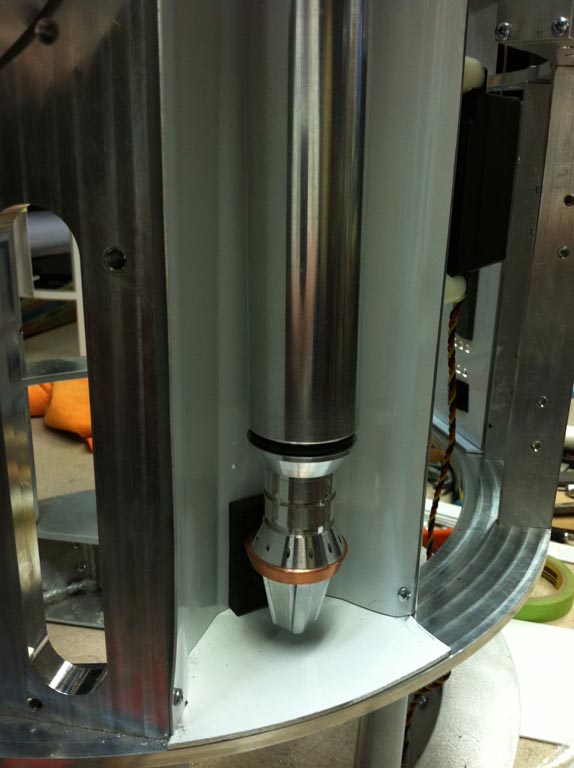
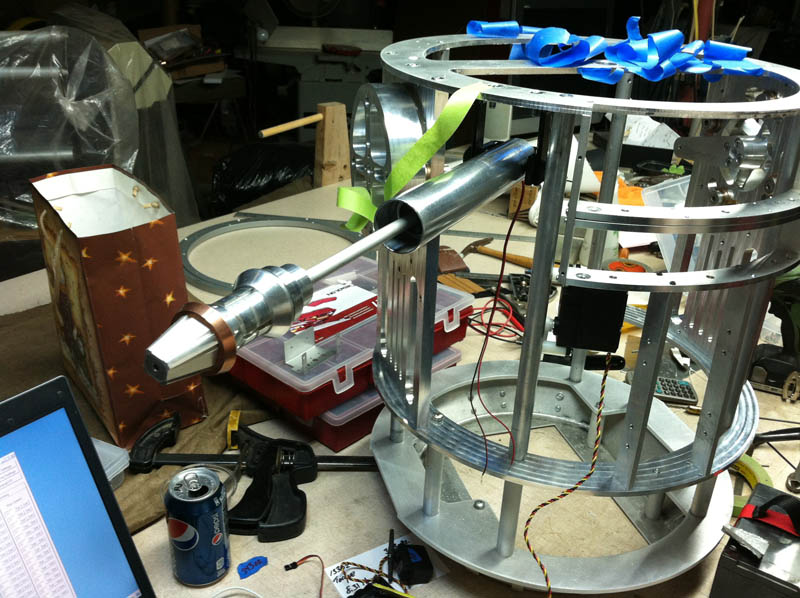
The CPU Arm assembly we made required some trimming of the metal shaft to fit the door opening. Then my friend came up with an ingenious way to mounting it all into the frame.
 |
| We had to take apart the metal CPU Arm and internal linkages to properly size them to fit the door opening. We then fabricated an adapter to thread from the L16 Firgelli Actuator and the threading of the CPU Arm tip |
 |
| The inside of the metal CPU Arm was filed to fit actuator inside, then we came up with a way to secure it inside. |
|
|
 |
| Servo on the left doesn't have enough torque but the one on the left will. The CPM Arm bracket is ready to be installed |
 |
| The CPU Arm hangs directly over the frame ring, so it won't be in the way of the skins nor the mechanisms behind it. You can see the two levers, one of which the large servo will attach to. |
 |
| Close up |
 |
| Arm pivoted out |
 |
| Drilling and tapping two holes into the frame rod to attach the large servo to. |
 |
| Servo installed, linkage from CPU Arm lever attached. Now to attack to the servo |
 |
| Testing it out, plenty of power to lift the CPU arm...and the actuator pushes the probe out |