Saturday, October 20, 2012

Let the paint work begin!

Today was the day to begin paint a few pieces and see how things went.

I already had a small stack of resin and metal pieces that are ready to go...

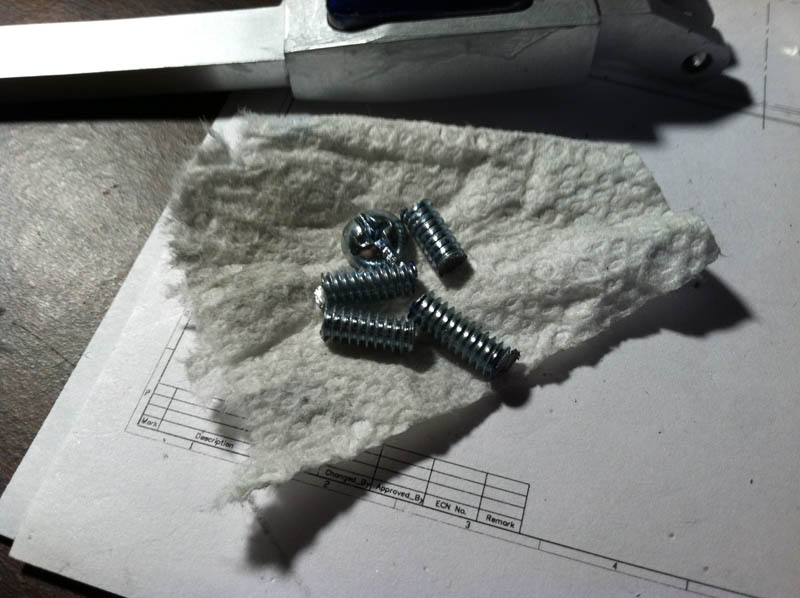
Coin slots and power couplers

Resin booster rocket covers, aluminum utility arms, large data port and the vent surround piece
 I decided to dismantle the power couplers and used painters tape to protect the areas that will not get painted.


Here is how the parts looked after being painted.


I had problems with my airbrush maintaining a normal flow of Dykem.  I really need a new one...but I had been able to make it work up til now.  As a result of that, some parts will need to be wiped down with Dykem Cleaner and do again...as in the case of the utility arms would up with some heavy spots...


The power couplers came out alright.  The tape removal managed to remove to peel off a bit of blue paint here and there....but still a good result overall.


With camera flash on
The coin slots probably came out the best.  After using the Dremel sanding wheel flap to remove paint from the front of the slots, I used some 400 grit sandpaper to clean it up even more...


So a few parts got done today.  Once I have the airbrush resolved...or replaced, we'll get more painting done.  In the mean time, I have plenty more pieces that need sanding and polishing!

Working on a new R2-D2 Blue

Over the past few weeks, I've been working on a new "blue" for the second R2-D2.  Some of the R2 Builders have discovered that the original R2 from the 1977 movie used a blue metallic dye.  Archival photos showed the crew re-applying additional coats of the Dykem Steel blue metal dye as it fades fairly quickly.

What's phenomenal about the Dykem is how purple in hue the color is, despite being blue.  You can really see it in R2's Radar Eye...


My first R2 uses what is called the "Krider" formula, for the gent who came up with a really close match to the blue-purple hue that is R2-D2 Blue.  It uses a base coat of a Rustoleum metallic purple, then a coat of Duplicolor Anodized Blue, followed by several coats of clear coat.   The problem is that Rustoleum metallic purple is no longer available and efforts to duplicate or mimic it have been problematic.  The subsequent R2 units in the movies used House of Kolor paints which, although pricey, is available.

Seeing the results from the samples other builders shared looked really good.  The Dykem product is available locally for under $10, requiring an airbrush for best results.  As the builders tested it out more, we found that adding a UV Clearcoat helps preserve the color.  However, it was a little too purple in most lighting, so thru some trial and error, we found that adding a coat of Duplicolor Anodized Blue gave the best result.

Since the Dykem metal dye is very opaque, the metal it is applied to should be sanded, cleaned and brought to a high polish.

To polish the metal, I'm using this Mother's polishing ball

The stack of sandpaper. 320, 400, 600, 800, 1000, 1500 and 2000

The various stages of shine, the best being the one that utilized the Mother's Aluminum polish on the far right

Prior to the first coat, I used the Dykem cleaning spray, which has acetone and other cleaners.  Here's after the first light coat of Dykem

Second coat

Dykem piece with several coats of UV clear and regular clear coat. 
 Its a really amazing color.  In hand, its purple.  On camera, blue.  It really depends on the angle.  

Now, with the Anodized Blue added to the mix...

Duplicolor Anodized Blue coat, just before the clear coats go on

Sample piece dry

Sample piece under flash

As you can see, its a really great mix of the blue with some purple hint to it.  And, significantly cheaper to use.

So, I began work on the parts that will get painted blue.  And, some that were already painted blue and need to have it removed.

The Large Data Port, already painted blue, needs to be stripped so it matches the rest of the pieces in the new R2 Blue

Zip Strip made very quick work of this.  Apply, wait for 10 minutes, wipe off...repeat as required.  Be sure you have lot's of ventilation!

And the Large Data Port with all the paint removed.  I rinsed it some cold water and gave it a thorough wipe down then let dry.
 Next up will be applying the blue to this and other parts, ready to be painted.

Utility Arms and the resin booster rockets, coated in a silver basecoat, ready for R2 Blue!

Sunday, October 7, 2012

Ankle details and Battery Harnesses installed

This weekend I spent some time on R2-D2 #2, namely on the ankle and battery box detail pieces.

Unlike R2-D2 #1, which has all aluminum detail pieces, I am trying to reduce weight by using resin versions of the detail pieces.  

First, we verify how the parts should sit on the ankle and trace a light pencil line around them.


Next, I need to sand away the paint and primer on the metal ankle and roughly sand the back of the resin piece.  Adhesives work best when they can grip and form a molecular bond with the surfaces.  Otherwise, if they are just glued to the painted surface, if the paint chips or cracks, the detail piece will fall off.


And we let that dry overnight.


Now the resin battery harnesses.

Like the ankle details, these were also molded with a metal gelcoat.  The small pieces need to be cut and trimmed free.


The "seam" from the molding process needs to be sanded smooth.  We also need to rough up the back surface.


The pieces would have had metal pins if these were the aluminum version.  I drilled out an 11/64 hole so that a 10-24 thread rod segment can fit inside.


Next, I use a 2 inch long 10-24 thread screw, measure how much it takes to fit inside the harness mounts and cut it up.


Now its time to get the harnesses lined up on the battery box, mark their position, sand away some paint and let the silicone out!


Lightly use some 80 grit sandpaper to remove paint.  You can also touch up the areas later if you remove too much.

A dab of silicone, then apply the resin part on top.  I used a pop sickle stick to add more and guide it where needed

Voila!  Done and left to dry overnight.