Unlike R2-D2 #1, which has all aluminum detail pieces, I am trying to reduce weight by using resin versions of the detail pieces.
First, we verify how the parts should sit on the ankle and trace a light pencil line around them.


Next, I need to sand away the paint and primer on the metal ankle and roughly sand the back of the resin piece. Adhesives work best when they can grip and form a molecular bond with the surfaces. Otherwise, if they are just glued to the painted surface, if the paint chips or cracks, the detail piece will fall off.

And we let that dry overnight.

Now the resin battery harnesses.
Like the ankle details, these were also molded with a metal gelcoat. The small pieces need to be cut and trimmed free.


The "seam" from the molding process needs to be sanded smooth. We also need to rough up the back surface.


The pieces would have had metal pins if these were the aluminum version. I drilled out an 11/64 hole so that a 10-24 thread rod segment can fit inside.


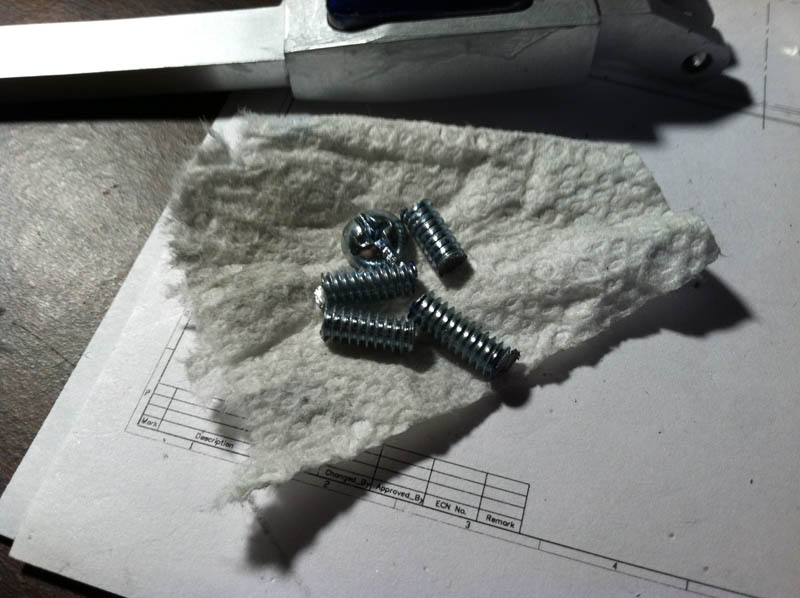
Next, I use a 2 inch long 10-24 thread screw, measure how much it takes to fit inside the harness mounts and cut it up.


Now its time to get the harnesses lined up on the battery box, mark their position, sand away some paint and let the silicone out!


 |
| Lightly use some 80 grit sandpaper to remove paint. You can also touch up the areas later if you remove too much. |
 |
| A dab of silicone, then apply the resin part on top. I used a pop sickle stick to add more and guide it where needed |
 | |
| Voila! Done and left to dry overnight. |